One of the smartest ways to get ready for the colder months to come is to properly prepare your furnace. When you winterize your home, it makes good sense to carry out some essential maintenance on your furnace. This will maximize the efficiency of your heating equipment and help you to curtail your energy expenses without sacrificing your indoor comfort levels. Many homeowners adopt a DIY approach to this work in order to “save money,” but HVAC is a specialized area, and it’s a suitable task for those without formal training. In this article, we will examine the importance of hiring an HVAC specialist and how to prepare your furnace for the colder weather ahead.
Hiring an HVAC Professional
If you really want to get your furnace ready for winter, it’s a good idea to hire a local certified HVAC professional to carry out this work for you. It’s estimated that the heating and cooling operations in a typical home account for approximately 48% of all energy used. This makes the HVAC system the largest single expense in most American homes. So, any improvements made in performance and energy efficiency will have a dramatic effect on both your indoor comfort and your energy bills. An HVAC professional will have the training, skills, and knowledge to help you get the best out of your HVAC system. But, if you want to attempt furnace maintenance on your own, we have provided some tips to help you get started.
9 Steps to Inspect and Maintain Your Furnace
- Create a Maintenance Record
It’s a good idea to have a record of the makes and model numbers of all your HVAC equipment. Locate them and record them in a file that you can keep with your manuals for each product. Start a log on the performance of your furnace, and this will help you to identify and problems later. This is the most accurate way to keep track of the efficiency of your furnace.
- Test the Carbon Monoxide and Smoke Detectors
It’s important to test your carbon monoxide and smoke detectors every six months. Make a date in your file and stick to it to ensure that your family is safe from carbon monoxide poisoning and fire. If you don’t have one or both of these detectors, it’s important to get them now and install them at least 15 feet away from the furnace. The only way to test for carbon monoxide is with a working detector, and a good detector only costs a few dollars.
- Check the Furnace Pilot Light or Electric Ignition
If you have a fault in either the pilot light or the electric ignition for your furnace, it will reduce the level of heat that comes into your home. Take a look at the pilot light; if it has a yellow color or if it’s flickering, this could be a sign that excessive levels of carbon monoxide are present in a gas furnace.
- Pay Attention to Odd Smells and Strange Noises
If you can smell a “rotten egg” odor, this could be a gas leak, and you need to take immediate action. If you can detect a metallic odor or a grimy odor, this could be a problem with the furnace motor, or there could be an oil leak somewhere. If there is a high pitched squeal when the furnace is running, the blower belt could have slipped or become frayed. Loud banging, screeching, or popping noises are an indication of mechanical problems where components have worked loose or need replacement.
- Cleaning the Flue and Chimney
There are chimney cleaning kits available for purchase, but many people hire a chimney sweep if they are not sure about the process. Cleaning the flue and chimney is pretty simple if you have the right brushes, but it can create a lot of mess if you don’t know what you’re doing. The furnace flue is responsible for venting all of the toxic gases from your heating system, and it needs to be clean and clear to avoid trapping the gases in your home. Any caked on deposits of soot, squirrel, or bird nests and general debris must be cleared away.
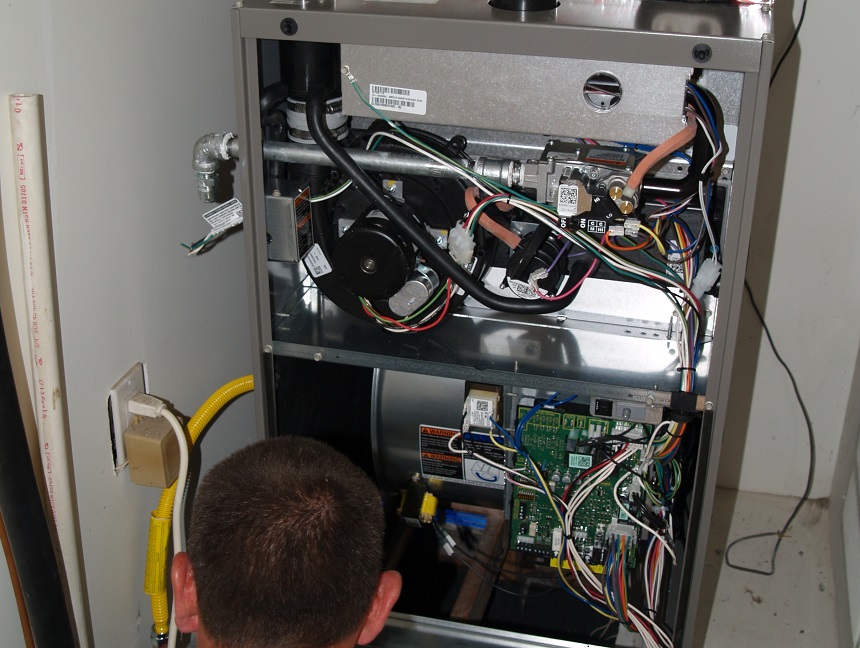
- Inspect the Electrical Components Connections
It’s important to look for any signs of scorching or burning in the electrical system. Every connection has to be secure; if they are not sparks can be created, leading to electrical fires, and the safety system will be tripped. Obviously, this work requires a good working knowledge of electrical systems, and if you don’t know what you are doing, it can be dangerous. If you are unsure about this type of work, contact a local certified HVAC specialist for expert help and advice today.
- Inspect the Moving Parts and Lubricate Them
The heating system has a number of mechanical components, and some of these are moving parts. Over time they can work loose or wear out, and this will affect other parts that they are connected to. Check how the components move, they should move freely, and then a light coating of lubrication can be applied. It’s possible to add years of service to your mechanical parts if they are maintained in this way.
- Test the System Safety Features
Many modern HVAC systems have safety features to shut the system down in the event of a power surge or a gas leak. Turn the furnace on and deliberately trip and then reset the safety controls to make sure they are working as intended by the manufacturer. This will ensure that the safety systems are ready in the event of an actual emergency.
- Hire an HVAC Professional Early
Many people make the decision to work on their own furnace and then either don’t have the time to carry out the work or realize that they are out of their depth. This is a common phenomenon, but it’s important to realize that many other people are in a similar situation. As the heating season arrives, many HVAC companies become very busy dealing with failed heating systems, and this can make it difficult to arrange a visit. For this reason, it’s a better idea to contact a local certified HVAC professional earlier and get your furnace checked well before the colder weather arrives.